How to Plan for Your Next Tattoo
Are you thinking of getting a tattoo but don’t know where to start? Look no further.
When you’re ready to get a tattoo, thousands of questions can go through your mind, such as picking the right style, placement, pricing, and finding the best artist for the job. Plus, you might be asking yourself the most common question, “Will I regret it?”
The goal of this post is to help you feel confident that the answer to that question is a firm “No way!
Step 1: Design Elements, Imagery, or Theme
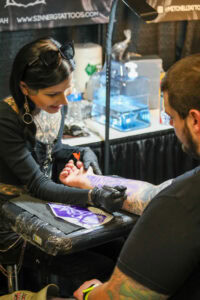
The first step in the planning process for a new tattoo is creating a concept for what you want the piece to look like. One idea is to start by writing down a list of elements you’d like to include, such as roses, skeletons, or a specific date. You can also take inspiration from elsewhere. Instagram, Pinterest, and Google are all popular choices, and their wide range of results may spark additional details for your piece. While a tattoo artist shouldn’t do the exact same design you find on Pinterest or Instagram, sharing some reference images will help them create something original while still capturing the image you have in mind.
If your tattoo is a cover-up piece, speaking with your artist will be a critical part of the process. In most cases, to effectively rework or cover a tattoo, the new tattoo will need to be around 4 times bigger than the original. Discussing the cover-up with your artist will allow you both to come up with something that will effectively cover the original tattoo, or if what you want won’t cover the old tattoo, you can always consider laser removal
Step 2: Choosing a Style
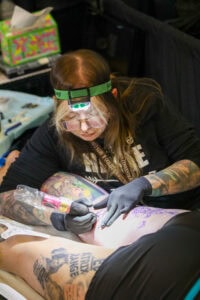
Awesome! Now you have some design starters, but how do you want these elements to look? Are you drawn to black and gray realism, something old school, or the minimalist approach? Maybe you saw something on Pinterest but aren’t quite sure about the specifics. Knowing which style is which can be difficult, and the lines between styles can sometimes be very blurry. If you’re feeling a bit lost in terms of which style is right for you, feel free to check out our blog post that breaks down the major tattoo styles.
Step 3: Proper Placement
Now that you’ve decided on design elements and your preferred stylistic approach, where should you place this tattoo?
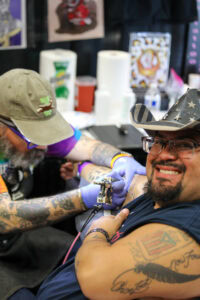
One thing you may want to consider when choosing your placement is how well you can handle pain. Areas like the ribs, inner biceps, hands, feet, elbows, and knees are typically more painful than other areas. Don’t let this scare you away from getting the tattoo where you really want it. In 5 years you won’t even remember the pain, but you will feel regret if you didn’t get the tattoo in the location you really wanted it. If you’re really concerned about the pain, numbing cream is a potential option, though oftentimes it makes the tattooing process more difficult and doesn’t work well for longer sessions. If you are curious about using numbing creams, we strongly recommend discussing this with your artist ahead of time to ensure they are okay with it and can plan accordingly.
Another important aspect of tattoo placement is visibility. Will it affect your current career or lifestyle if it is noticed? Oftentimes your design elements will play a big part in this. While some deem nature or portrait style tattoos to be ok, there is still a stigma being fought against other elements. A way to test this placement out, would be to draw a design of the tattoo on yourself using a sharpie or a washable marker, in addition to researching various tattoo placement ideas. Do you want it to be out in the open or something you can cover and reveal willingly? This can be determined by the style of clothing you wear such as long sleeve shirts, or pants.
Then we have size. How big should the piece be? Well, you can’t put something huge on your wrist, but you have more space on the chest. What about adding it to a sleeve later on? If this is a route you are interested in taking, you don’t want to limit the space you have for the future, and your artist can help plan this accordingly.
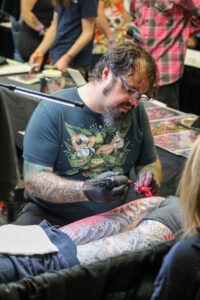
Step 4: Finding Your Tattoo Artist
As mentioned in previous sections, a good client-artist relationship is crucial for the development of your design and the overall tattoo experience. A skilled artist can offer advice and make necessary adjustments to ensure you come away with a tattoo you are proud of.
Finding the right artist may be daunting because there are so many options these days. Most search engines (like Google) allow you to narrow your search to local shops. We encourage you to explore beyond your immediate area to ensure you receive the best possible results. One tip is to look up various tattoo shops, search through their Instagram and find your favorite posts, then you can see who they were done by.
We recently updated our Tattoo Artist page so that you can search for the artists attending our convention by style. So even if you can’t attend the convention, you can use it as a good place to find artists that do the type of work you are looking for. There are also other websites, like Co-Create that you can use to help search for tattoo artists. If you have any questions before your appointment, feel free to contact the shop or the artist directly. If this is your first tattoo, don’t be afraid to ask questions.
Once you find the artist you want to work with, be sure to contact them via whatever method they prefer. From here, you and the artist can work together to come up with the perfect piece for you!
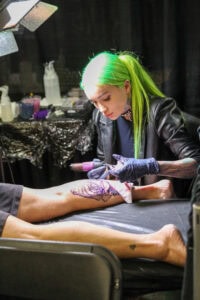
Step 5: Budget
Working with artists means paying for their valuable time and skills. Since artist rates can vary from shop to shop or artist to artist, it’s important to set a budget and plan. On average, you can expect to pay $150-$250 per hour. While tips aren’t required, they are like any service industry; if you like the work the artist did, then you should leave a tip. If you have a strict budget, be sure to let the artist know so they can either explain what they would recommend in that price range, or you all can figure out how to plan the piece to be done in multiple sessions.
Typically, you will be asked to pay a deposit, which is usually around a quarter of the estimated cost. This deposit covers the artist in case you have to reschedule/cancel last minute and they miss out on a day they could have tattooed someone else. If you are running late, please keep in contact with the shop so that your deposit isn’t at risk of being forfeited. You may also want to bring cash on the day of your appointment to avoid credit card processing fees.
We hope this clears up some of your questions and provides insight into the tattoo process!
If you have any questions about your next tattoo or want to learn about the process, feel free to reach out to Loose Screw Tattoo, and one of their receptionists would be happy to help you.
More...
Thank You For Helping Us Donate $5,000 to Studio Two Three
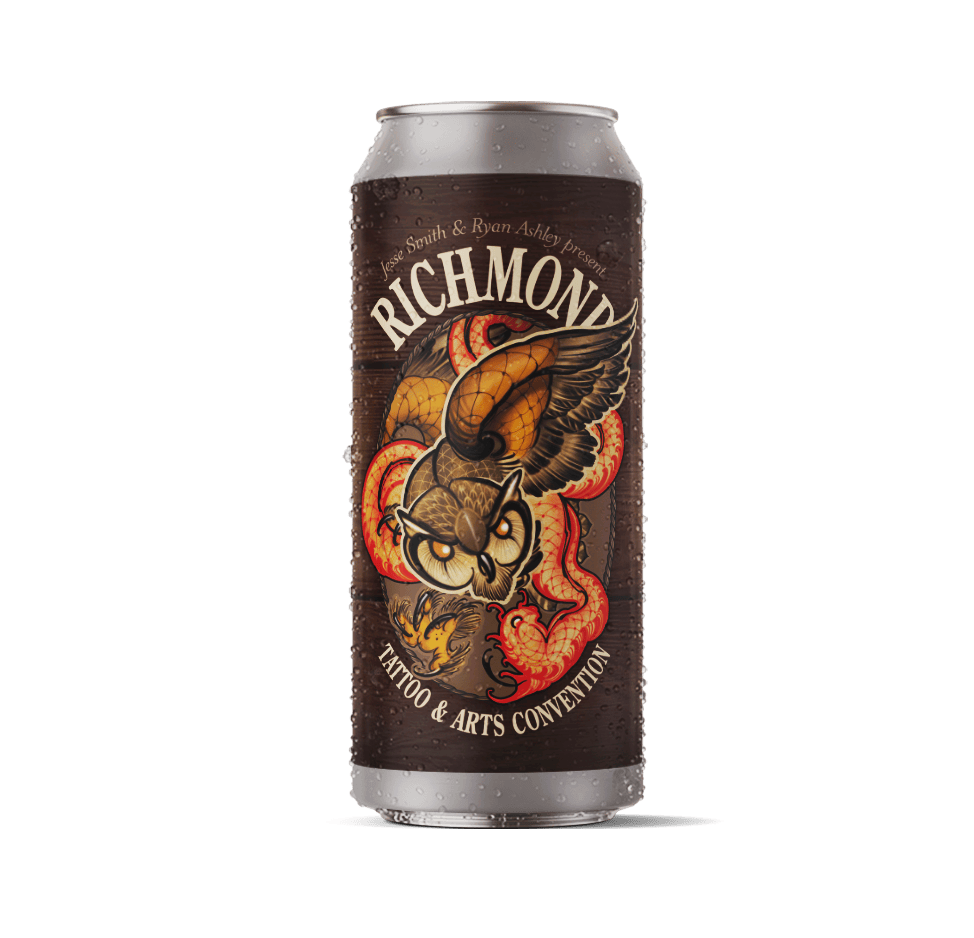
Richmond Tattoo & Arts Convention + Bingo Beer Co. Unveil Limited-Edition Convention Beer Design

Richmond Tattoo & Arts Convention: A Global Celebration with Family at Its Heart
Five top art Experiences in Richmond, VA: October is artoberVA!
